

How to Cancel Fitbit Premium: Step-by-Step Guide 2024
How to Cancel Fitbit Premium: A Comprehensive Guide on How to Cancel Fitbit Premium
Canceling a Fitbit Premium subscription is as simple as counting your steps. It’s easy to cancel your Fitbit Premium subscription, whether you’re ready to transfer plans or simply want to pause. Here’s how to cancel your subscription without breaking a sweat.
First, grab your device and launch the Fitbit app. Navigate to the “Account” area and select the “Premium” tab. Next, choose “Manage Subscription.” From there, you may examine all of the details of your membership and cancel it if necessary. Alternatively, you can access your Fitbit account through the website. Once logged in, navigate to the “Premium” area and click “Manage Subscription” to examine your subscription information and cancel. Remember that canceling your Fitbit Premium subscription does not remove your account, so you can return whenever you’re ready to get back on track.
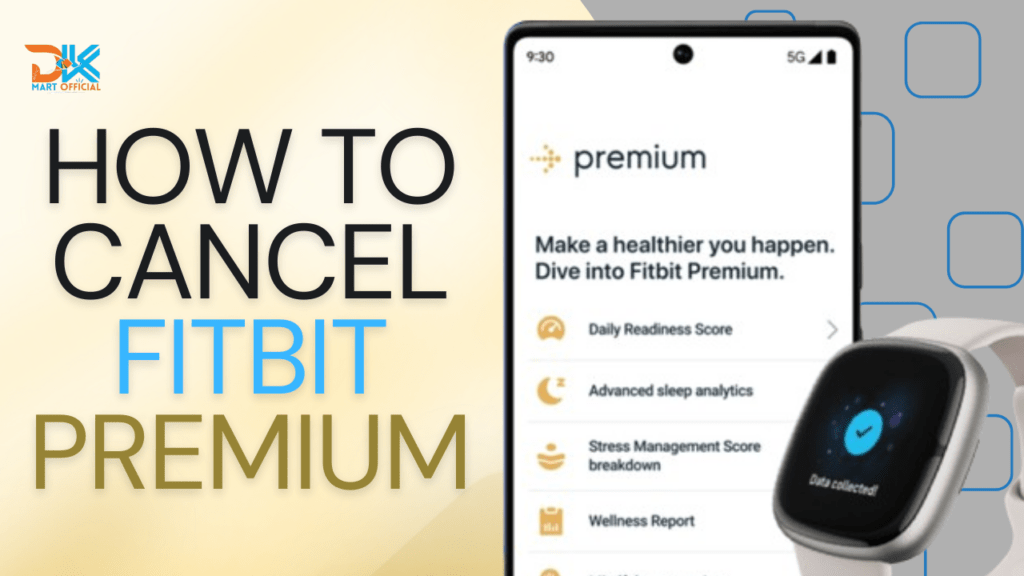
Table of Contents
How to Cancel Fitbit Premium: Open the Fitbit App
Begin by launching the Fitbit app on your smartphone and logging in to the account associated with your Fitbit Premium subscription. If you’re using an Android device, tap the three horizontal lines in the top-left corner of the screen, then select “Account.” For iPhone users, select “Profile” from the bottom of the screen. Scroll down the screen until you see the “Manage Subscription” or “Fitbit Premium” options, depending on your device.
On an Android phone, select “Manage Subscription,” then “Cancel Subscription,” and follow the on-screen instructions. If you’re on an iPhone, select “Fitbit Premium,” then “Cancel Subscription,” and lastly confirm your decision. It’s important to remember that you’ll have access to Fitbit Premium features until the end of your current payment cycle. If you choose, you can continue to track your health and fitness statistics using the free Fitbit app or consider switching to a different plan. To prevent getting charged for the following billing term, cancel your subscription in advance.
How to Cancel Fitbit Premium: Navigate to Account Settings
To start the cancellation procedure for your Fitbit Premium subscription, launch the Fitbit app on your smartphone. Once in the app, locate and touch on your profile icon or account settings. This icon is normally seen in the upper-left or upper-right corner of the screen, depending on the device you’re using. The design and location of this icon may differ somewhat between Android and iOS devices. If you are using an Android phone, tap the three horizontal lines in the upper-left corner, then select “Account.” On an iPhone, select “Profile” at the bottom of the screen.
After you’ve located your profile or account options, scroll down to the “Manage Subscription” or “Fitbit Premium” option. Depending on your device, this choice may show in a variety of menu sections. If you’re using an Android phone, select “Manage Subscription,” then “Cancel Subscription,” and follow the on-screen prompts. If you’re using an iPhone, hit “Fitbit Premium,” then “Cancel Subscription,” and confirm your selection. After canceling your subscription, you will continue to have access to Fitbit Premium features until the end of your current monthly term. If you are dissatisfied with the cancellation procedure or have any issues, Fitbit’s customer care staff is here to help you.

How to Cancel Fitbit Premium: Access Premium Subscription
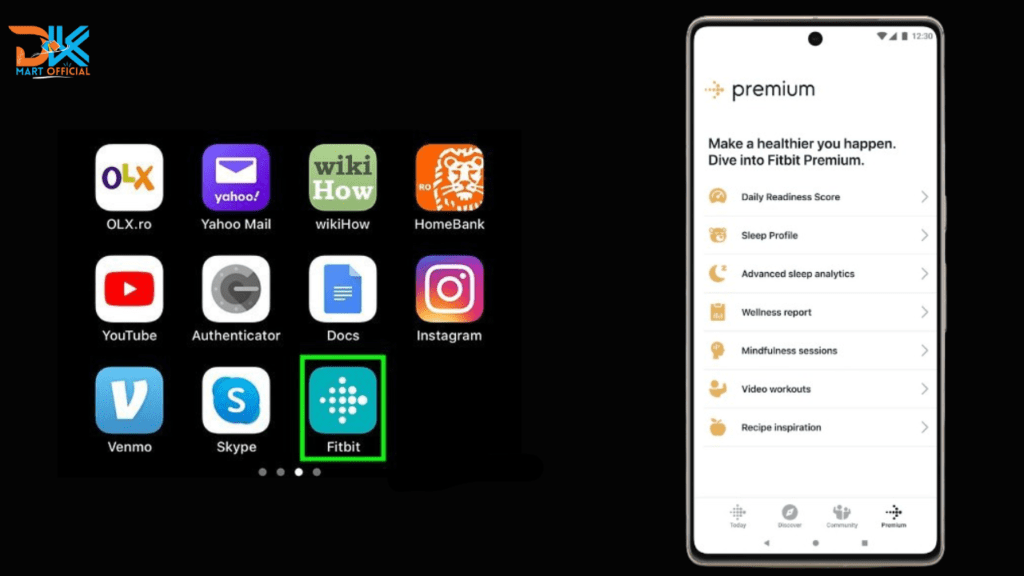
Users can quickly find the section dedicated to their subscription or premium services in the Fitbit app or website’s account settings. This area is often titled “Fitbit Premium” and acts as the entry point for accessing extensive subscription details. Users should navigate to their account settings and select the “Fitbit Premium” option, which will take them to the membership details page.
Once in the “Fitbit Premium” section, consumers may learn about the specifics of their subscription, such as features, billing information, and renewal data. This phase is critical for users considering subscription changes, such as cancellations or alterations. By selecting “Fitbit Premium” in the account settings, consumers can easily access the heart of their subscription details, allowing them to make informed decisions regarding their Fitbit Premium plan.
How to Cancel Fitbit Premium: Manage Subscription
Fitbit Premium subscribers will often see an option labeled “Manage Subscription” or “Subscription Settings.” This critical step helps you navigate the Premium subscription’s options. Once you’ve located and picked this option, it serves as a portal to a dedicated section where you may customize various parts of your Fitbit Premium experience.
By selecting “Manage Subscription” or its equivalent, customers can enter a world of customization, allowing them to change billing information, amend subscription preferences, or, in this case, commence the cancellation process if desired. This user-friendly interface streamlines Fitbit Premium maintenance by allowing users to easily explore subscription options to personalize their fitness experience to their changing preferences and needs.
How to Cancel Fitbit Premium: Cancel Subscription
To access your profile or account settings in the Fitbit app, tap on the profile icon or the account settings option, which are normally located in the upper-left or upper-right corner of the screen. If you have an Android phone, tap the three horizontal lines in the upper-left corner, then select “Account.” For iPhone users, select “Profile” from the bottom of the screen. Within the profile or account options, there should be a “Fitbit Premium” or “Manage Subscription” option. Tap this option to get your subscription information and cancelation options.
Once you’ve found the subscription settings, look for the option to cancel your Fitbit Premium subscription. To confirm your cancellation, simply follow the on-screen instructions. Please pay carefully to any subsequent prompts or confirmation processes that may occur. After successfully canceling your subscription, you will continue to have access to Fitbit Premium features until the end of your current monthly term.
It’s crucial to note that canceling your Fitbit Premium subscription does not terminate your account. You may still track your health and fitness data with the free Fitbit app. If you have any concerns or need assistance canceling your subscription, Fitbit’s customer care team is here to help. They can help you manage your subscription and answer any questions you may have about the features and benefits of Fitbit Premium.
How to Cancel Fitbit Premium: Verify Cancellation
After confirming the cancellation of your Fitbit Premium subscription, it is critical to double-check that the process was completed successfully. First and foremost, confirm in the Fitbit app or website that your subscription status has been modified to “canceled” or a similar state.
Fitbit also sends users a confirmation email to recognize the cancellation. Check your email inbox, including the spam and promotional folders, for this confirmation message. The email acts as an official record, ensuring that the cancellation request is received and executed.
Users can check that their Fitbit Premium subscription has been successfully canceled by cross-referencing the app status and email confirmation. This rigorous approach guarantees a smooth and error-free experience, allowing users to manage their fitness subscriptions with confidence and transparency.
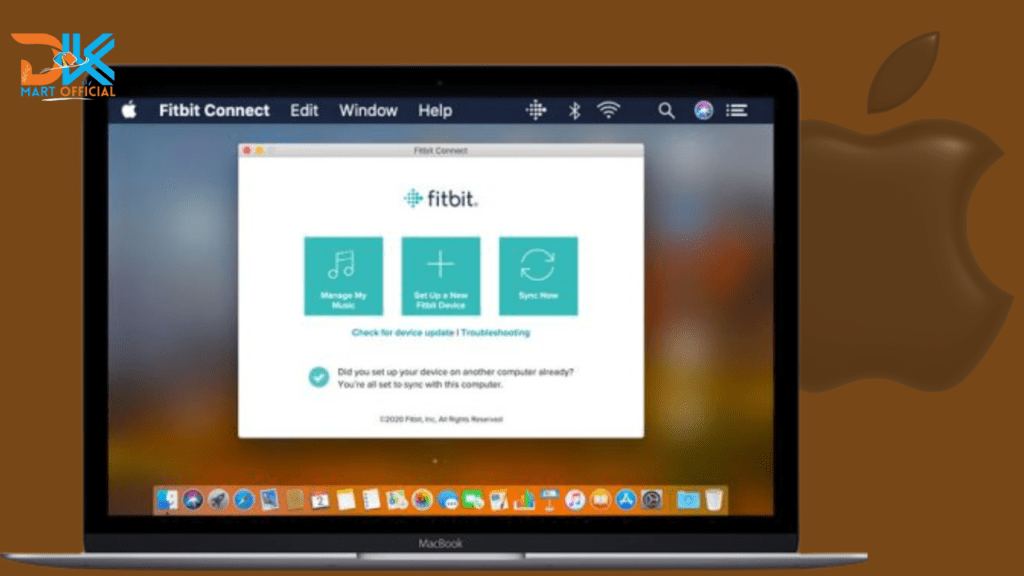
How to Cancel Fitbit Premium on Macbook
Canceling your Fitbit Premium subscription on a MacBook is a simple process via the Fitbit app. Begin by launching the Fitbit app and selecting your account settings by clicking on your profile or account icon. Look for the subscriptions section, which is commonly called “Fitbit Premium” or “Subscription,” and then select “Manage Subscription.” Find the option to cancel Fitbit Premium in the subscription settings and confirm your decision using the on-screen prompts. Double-check for any cancellation-related email confirmations. This approach assures that you may easily remove Fitbit Premium from your MacBook, allowing you to tailor your fitness journey according to your preferences.
It’s worth noting that if you previously subscribed to Fitbit Premium through the Fitbit website, you may be able to cancel your subscription by entering your Fitbit account on the official website. Regardless of the method used, the cancellation process is straightforward, allowing individuals to modify their membership status as needed.
How to Cancel Fitbit Premium in Windows
Canceling Fitbit Premium on a Windows device is a simple process supported by the Fitbit app. Start by launching the app and logging in with the account linked with your Fitbit Premium subscription. Then, to access your account settings, click on your profile or account icon, which is normally situated in the app’s upper-left or upper-right area. Locate the subscriptions section in the settings, which is commonly named “Fitbit Premium” or “Subscription.” Once there, click the Manage Your Subscription option, which will take you to Fitbit Premium-specific options. Within these settings, you will find the option to terminate your subscription. Follow the on-screen steps to confirm your selection, and don’t forget to confirm the cancellation.
This improved approach allows consumers to change their Fitbit Premium subscription status right from their Windows device. With a few clicks in the Fitbit app, consumers can effortlessly handle the cancelation process. Whether consumers are reevaluating their fitness demands or looking into alternate subscription alternatives, canceling Fitbit Premium on Windows provides ease and flexibility, giving them control over their fitness journey.
How to Cancel Fitbit Premium in IOS
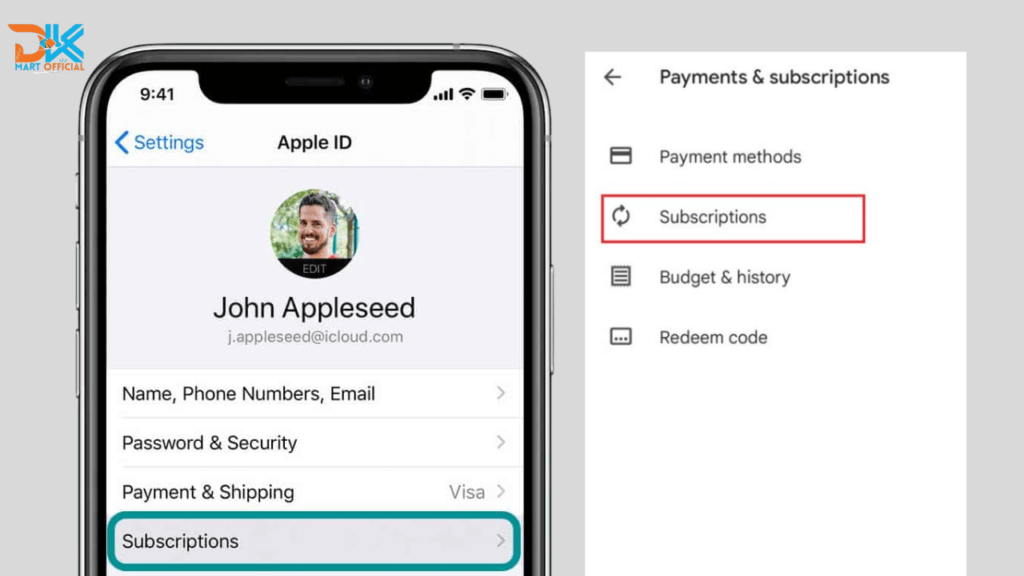
Canceling your Fitbit Premium subscription on an iOS device, such as an iPhone or iPad, is a simple process using the Fitbit app. Begin by opening the app and logging in with the account associated with your Fitbit Premium subscription. To access your account settings, tap on your profile or account icon, which is typically situated in the upper-left or upper-right area. Inside the account settings, look for the subscription option, which is usually called “Fitbit Premium” or “Subscription.” Tap “Manage Subscription” or a similar option to see your Fitbit Premium subscription’s specific options. From there, you can easily find the option to cancel your subscription and confirm the cancellation by following the on-screen instructions.
The Fitbit app on iOS features an intuitive interface, making canceling Fitbit Premium a simple process for users. This user-friendly approach allows iOS users to easily traverse the canceling process, providing flexibility and control over their fitness subscriptions. Whether consumers are reassessing their fitness objectives or looking into alternative services, the Fitbit app for iOS offers a streamlined platform for managing and canceling Fitbit Premium subscriptions.
Frequently Asked Question
Conclusion
By following these steps, canceling your Fitbit Premium subscription becomes a simple and streamlined procedure, allowing you to tailor your fitness journey in accordance with your developing preferences. It’s worth noting that canceling Fitbit Premium means losing access to premium features, so customers should think carefully about this decision.
Before finishing the cancelation, reassess your fitness requirements and weigh the benefits of Fitbit Premium against your existing objectives. Fitbit Premium has a number of sophisticated features intended to improve your health and wellness experience. If you’re canceling due to financial reasons or a transition to alternative services, making sure you’ve looked into all available options might help you make an informed decision. Finally, by following these steps and carefully examining your options, you will be able to confidently manage the Fitbit Premium cancelation process and customize your fitness journey to your preferences.